 Deutsch
 EN
EN Español
 Français
 Italiano
 Português
In the first of our Tech series on the blog, Sendinblue web developer Malith Priyashan will take you through the step-by-step process of setting up transactional emails with Next.js and Sendinblue.
Introducing Next.js and Sendinblue
Next.js is a wonderful framework based on React that allows us to render views from the server side. We will use Next.js with Sendinblue to send transactional emails.
Transactional emails are time-sensitive emails sent out following a transaction (e.g. order confirmations, shipping notifications, appointment reminders, etc.). You can learn more about them in this guide.
Sendinblue is a comprehensive suite of SaaS communication tools, including email campaign software, transactional emails, text messages, and more.
Prerequisites?
For this tutorial you don’t have to be an expert in Javascript. Basic knowledge is enough to get the hang of this tutorial.
Setting up Next.js App
You should have npm installed in your computer. First, create a folder called ‘Sendinblue’ for this tutorial and navigate to your project folder in console. Mine is:
Create a file called ‘package.json’ in your project root folder. You can create a file in terminal:
Add this content to the package.json file:
Moving on, open your terminal and run ‘npm i’ – this will install all the necessary dependencies for the Next.js app.
When you are done with installing dependencies, create a folder called ‘src’ and then ‘pages’ inside the ‘src’ folder. Then create a new file called ‘index.js’ inside pages folder. Your path should look like this ./Sendinblue/src/pages/index.js
Now add this content to the index.js file:
Back to your terminal and run ‘npm run dev’ when you see this
ready - started server on http://localhost:3000On your terminal, go to your browser and open up http://localhost:3000.
You should see a white screen with hello text there. Congratulations! You’ve just set up a next.js app. ???
Server Side Rendering With Express
We need some server side language to send emails with the Sendinblue API. Next.js supports Server Side Rendering with express.js.
In order to do this, you need to create file called ‘server.js’ in your root folder and add this content:
When you’re done, update the script tag on package.json file like this:
Your package.json file should look like this:
Now go to your terminal and start by adding express to our dependencies. Please run:
npm install --save expressNow try to run the app again:
npm run devYou will see our app is running again with express js.
Building the Frontend
For this tutorial we will create a simple button that sends a transactional email using Sendinblue once the user clicks the button.
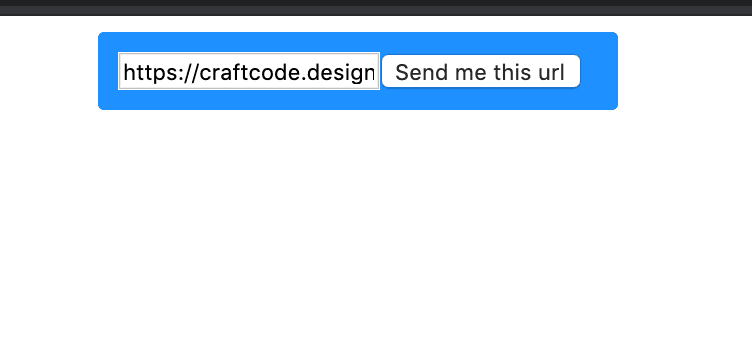
Let’s create a simple input and button. Open up the index.js file and replace the content with this:
You will have a simple front-end like this:
Setting up an endpoint to send the email
In order to send an email we need to have an endpoint available for our frontend because we can’t send an email directly from client side (or at least we shouldn’t).
In this case we’re going to use express.js to create a new route for us. Add this to your server.js.
As you can see we also use a new package ‘bodyParser’. We will need to require this on the top of the file.
const bodyParser = require('body-parser');Then, run this on your terminal as well.
npm install body-parserNow the server.js file should look like this:
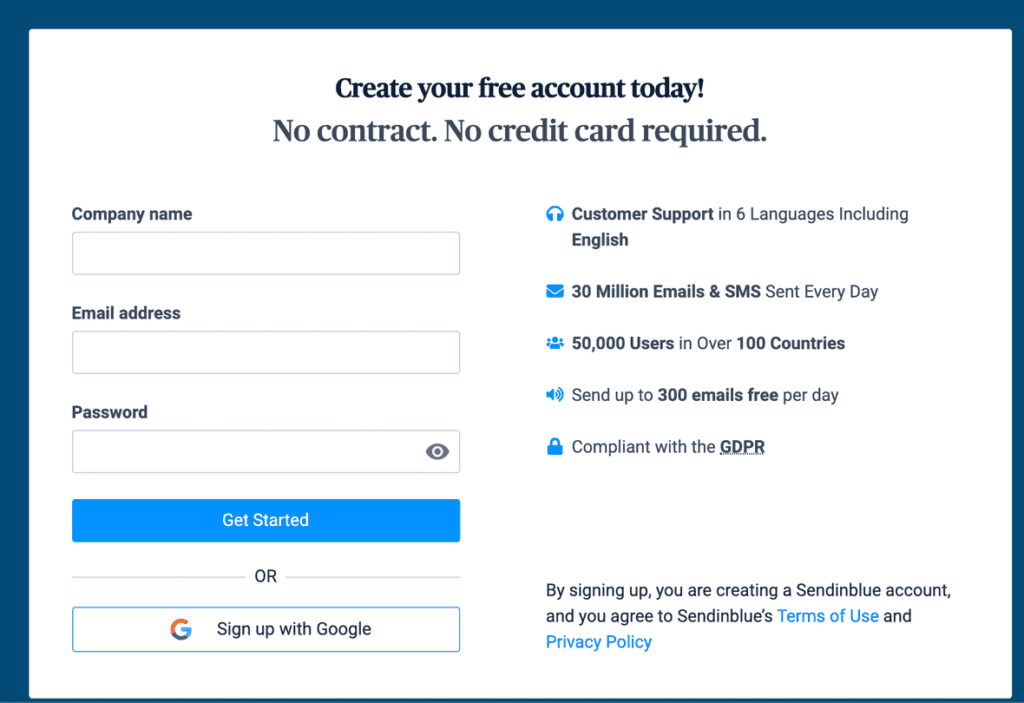
So moving on, it’s time to create an account on Sendinblue. You can get started with Sendinblue on our free plan which lets you send 300 emails/day.
Once on the account creation page you’ll see this page:
Then you’ll arrive on the dashboard:
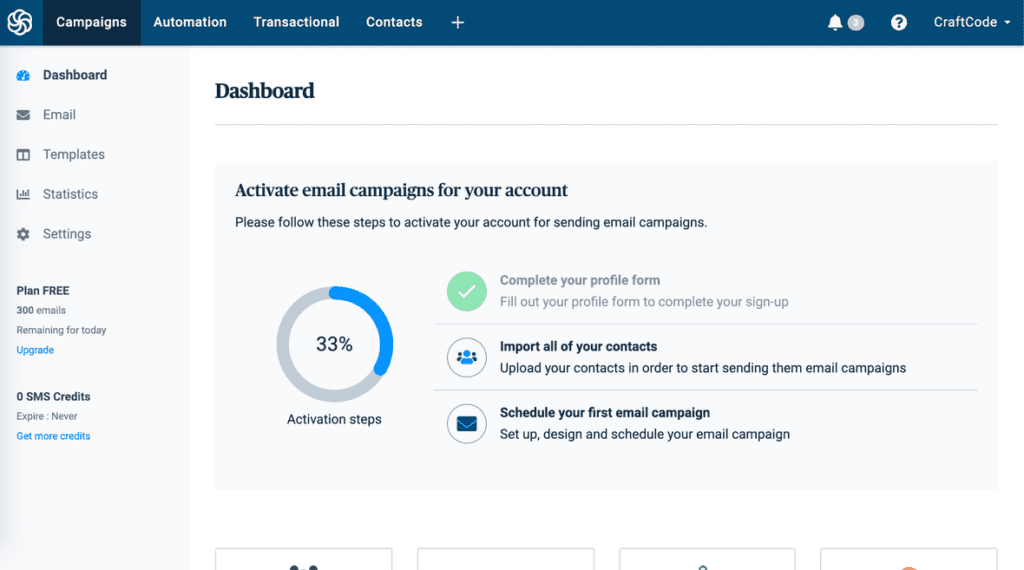
When you are ready click on the transactional tab on the main navigation.
Click on the templates and start creating a new template:
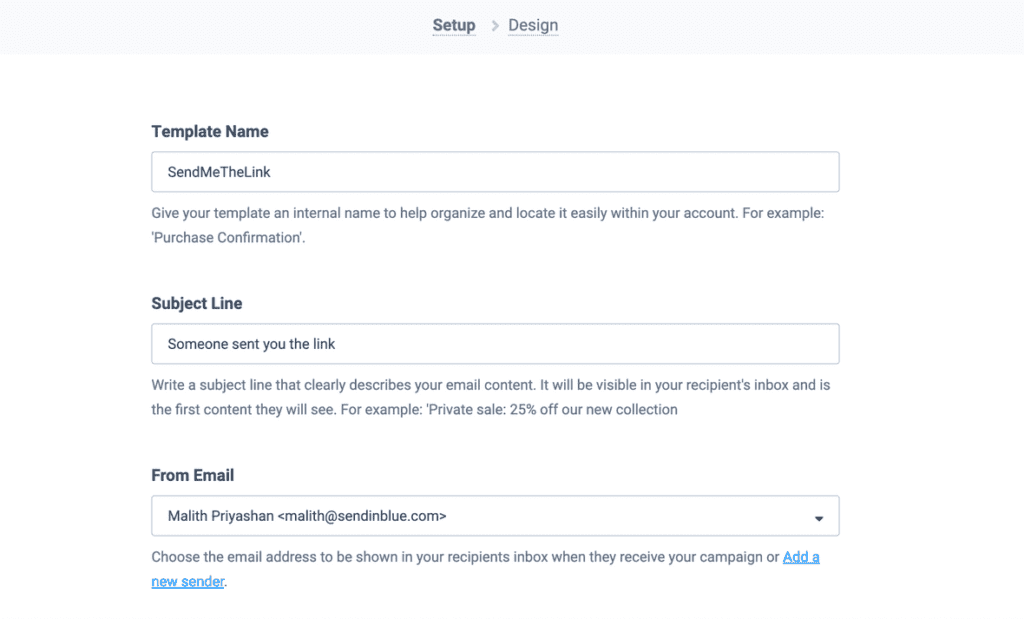
You can give your template any name.
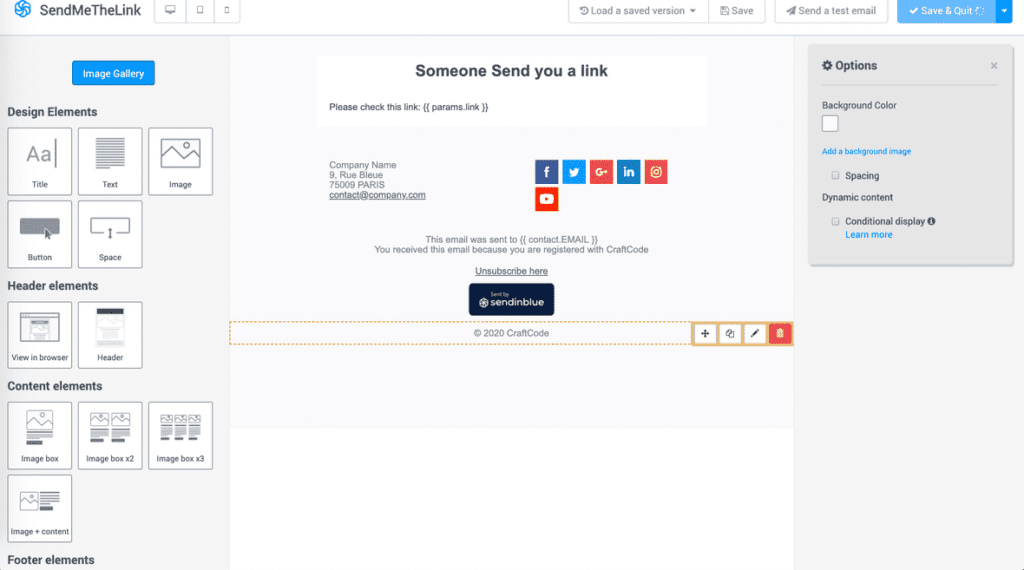
Let’s move on to the Design tab and for this tutorial I’ve created a very simple design. Make sure to keep {{params.link}} in the design. We will use this to send dynamic data from our next.js app.
Activate the template and you’re all set on the Sendinblue platform for now.
Let’s move on to the Next.js part where we are going to use an ajax call to our /api/email endpoint.
Calling the email api endpoint
Remember that we created an endpoint in server.js for ‘/api/email’? Now it’s time to send a test request from the frontend.
For this tutorial I am going to use Axios package for sending ajax request from the frontend. There are plenty of ways to implement this but for the sake of this tutorial I will make it very simple.
Please create a folder called ‘services’ inside the /src/ folder. Then create another file ‘sendMail.js’. We are going to write a simple service to call ‘/api/email’ endpoint. Inside ‘sendMail.js’ add this content:
Then you need to import this service into your next.js page. Open up ‘/src/pages/index.js’ file and import the sendMail like this:
import { sendMail } from "../services/sendMail";Now we need to call this function when someone clicks on the ‘Send me this url’ button. Then we need to create an async function called handleOnClick (you can call this whatever you want).
Now you can attach this to the button easily like this: onClick={ () => handleOnClick()}.
The complete index.js content should look like this:
If you go to your browser, open your consol, then click on the button you will see a response ‘true’. This validated email endpoint is working and our axios request works as well.
Last step: sending the email
We’re almost done. Let’s get to the part where we actually send the email. In order to do this we will need a package from Sendinblue called ‘sib-api-v3-sdk’. Switch to the terminal and run ‘npm install sib-api-v3-sdk’. Then create a folder called ‘api’ in the root and inside this folder you need to create a file with the name ‘sendinblue.js’
Add this content to the sendinblue.js:
You need to replace the apiKey with your api key. You can get it from your Sendinblue dashboard in the top right corner:
Once you are done with replacing the API key, go back to the server.js and import the Sendinblue function and call the transactional mail api like this:
const sendinblue = require('./api/sendinblue');The complete server.js file should look like this:
This was the last step. Now we can start testing. Go back to the frontend and click on the ‘Send me this url’ button. It should send you an email with the template and content we’ve already created. This is what my email looks like:

In case you missed something, you can fork this github repo I made for this tutorial.
Conclusion
Thanks for reading! I hope this article provides some insight into how easy it is to use the Sendinblue api and send transactional emails.
If you have any questions or remarks, leave a comment below or reach out to Sendinblue on Twitter.
Happy sending!


Comments
Hi there,
Thanks for posting this tutorial.
However when I’m deploying my app to production, I always get a 405 error on ‘/api/email’ xhr-request.
On local dev (server.js) no problem at all. Any suggestions?
I put sendmail.js inside pages/api/ folder
Update* I resolved the 405 error by renaming the api/sendinblue.js file to api/email.js
However this now results in a 502.
An error occurred with this application.
This is an error with the application itself, not the platform.
502: BAD_GATEWAY
Code: NO_RESPONSE_FROM_FUNCTION
ID: lhr1::ng4sr-1595692330578-b7b236108bdc
Hi Lennert,
Thank you for reading the article. I’d suggest to put sendinblue.js or email.js outside of the pages folder because Next.js treat this file as a new route. Do you have a demo or a github repo that I could see?
Malith
Ready to find your marketing zen?
Take the stress out of your work day with a solution that’s built for you!
Get started free